 "Ross Kraz" (ropstafer)
06/01/2016 at 12:54 • Filed to: $400 Bimmer, Budget Bimmer, BMW, 530i
 3
3
 0
0
 "Ross Kraz" (ropstafer)
06/01/2016 at 12:54 • Filed to: $400 Bimmer, Budget Bimmer, BMW, 530i |  3 3
|  0 0 |
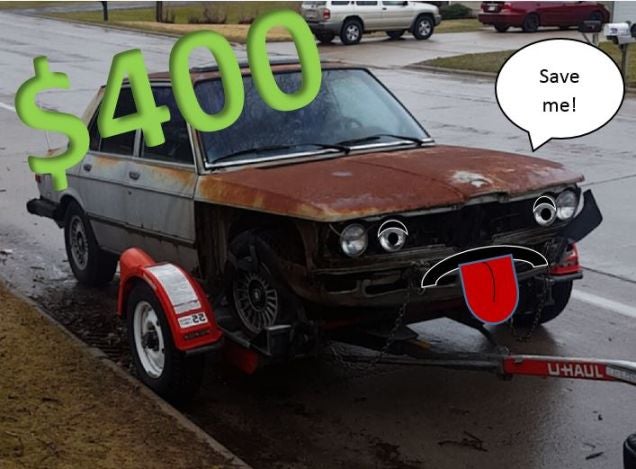
It’s been a while since the last update. House and landscaping projects have been filling my time. The last couple weekends, though, have provided a little free time to work on the 1977 530i. The easy part was new oil, plugs, wires, cap, rotor, and coil.
Next, I started the daunting task of reassembling the fuel delivery and intake components. Since it was in pieces when I bought the car, it’s sort of like putting together a puzzle without ever seeing the picture on the box.
Refurbishing the fuel rail and installing the new fuel injectors was pretty easy. The only hiccup is that one injector is a different brand because Rock Auto closeout sale.
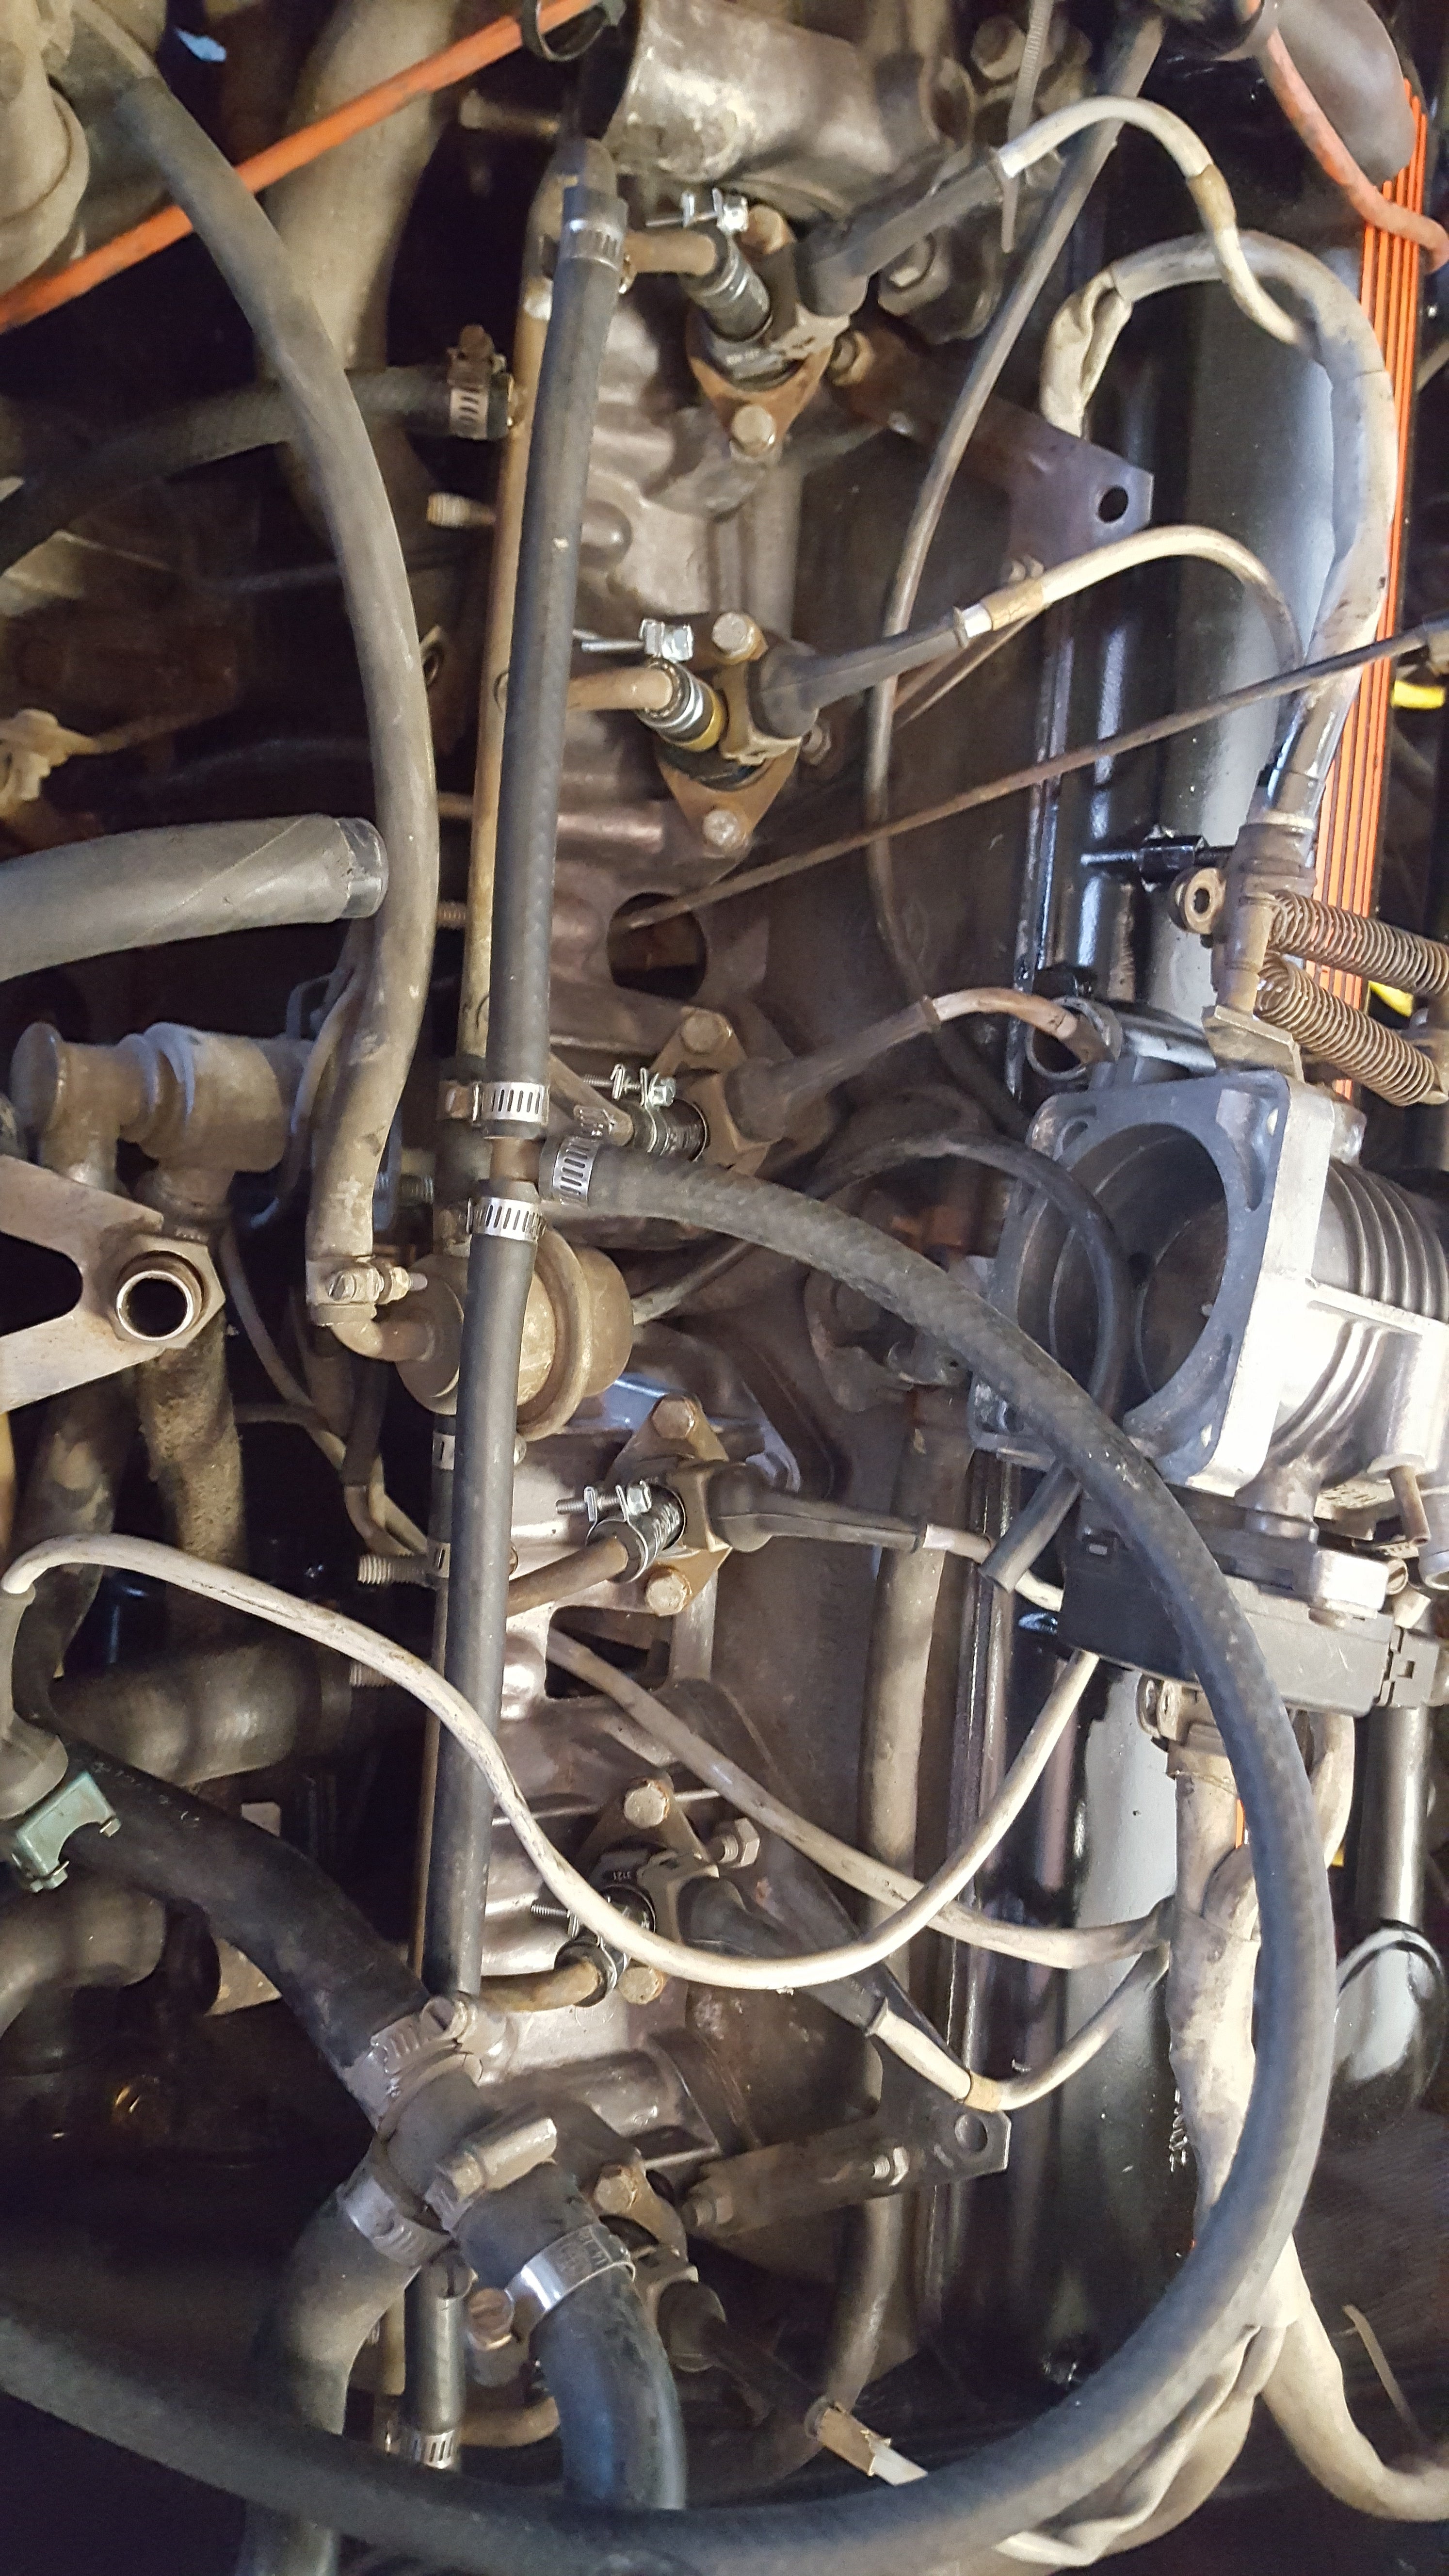
I replaced all of the lines on the rail except the fuel return line, which wasn’t cracked or brittle
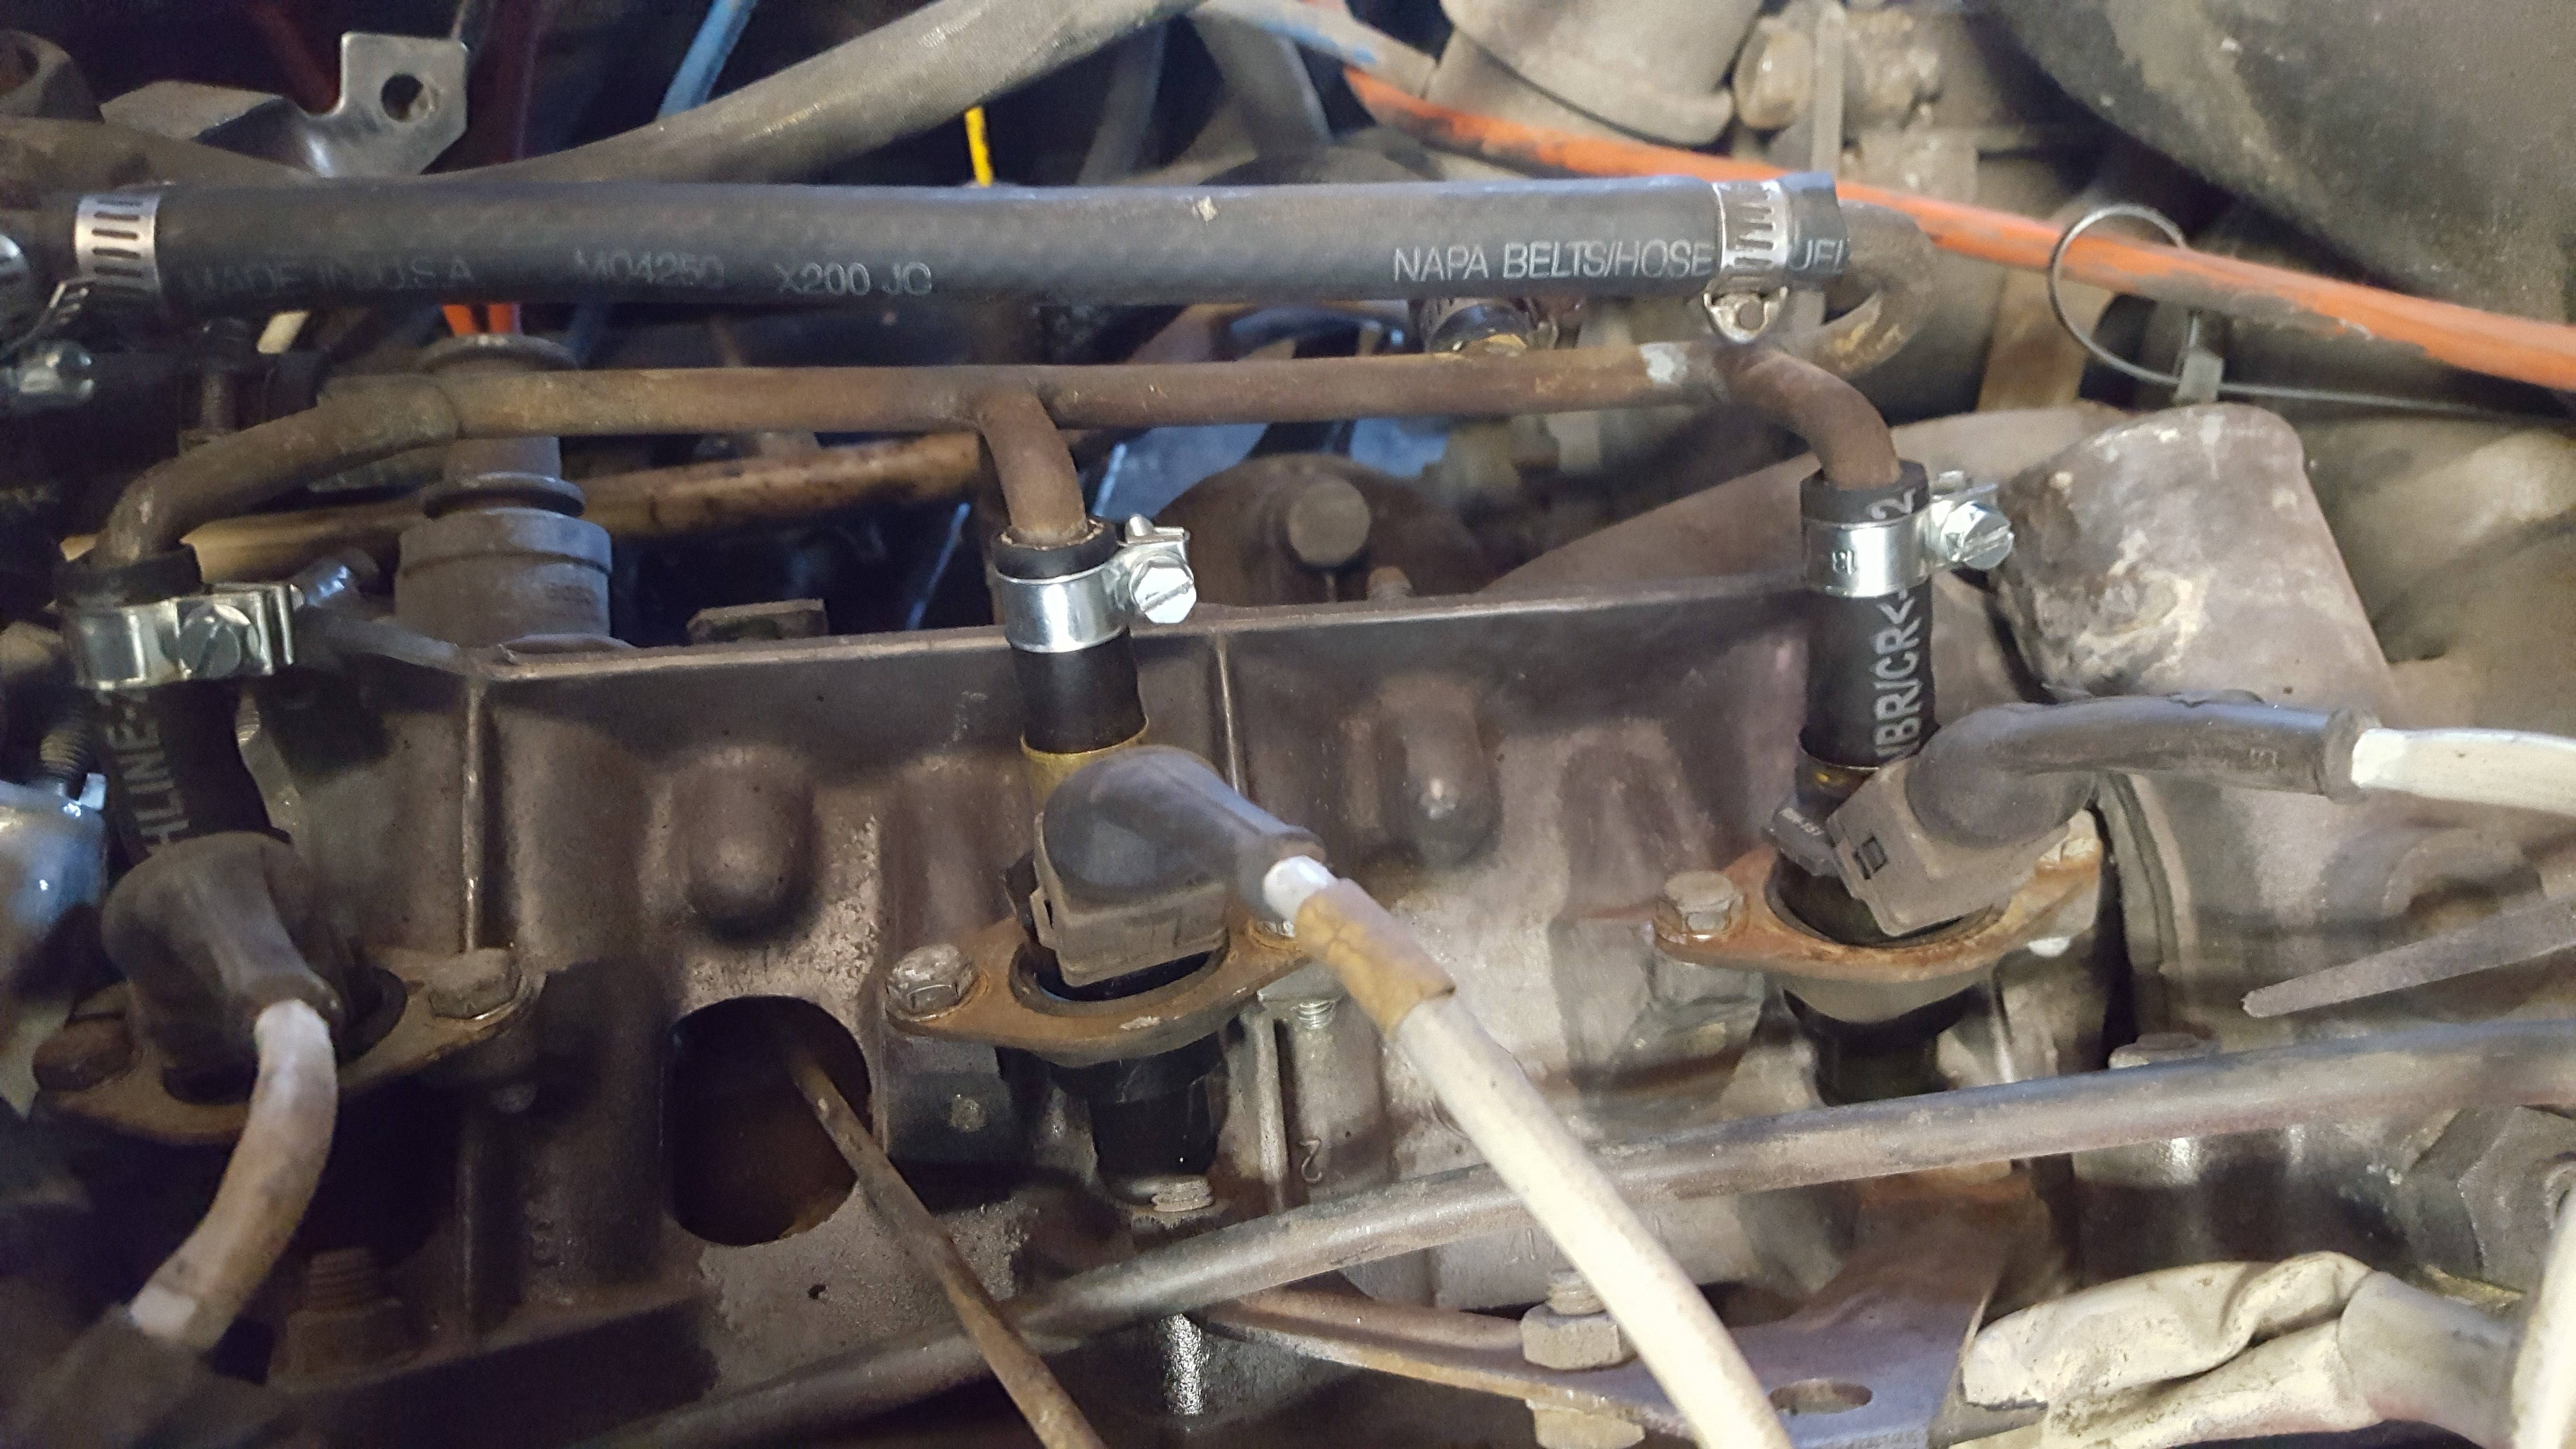
A closeup of the injectors in the intake manifold. The little plates simply sandwich the injector and hold it tight into the rubber o-ring.
Next was to assemble all of my !!!error: Indecipherable SUB-paragraph formatting!!! . You can see the butterfly throttle valve sitting on the valve cover in the top picture of the injectors. Air flows through that, into a top manifold which is apparently called an “accumulator”. Then it goes into individual u-shaped runners called, creatively, “suction pipes”, and down into the intake manifold.
This part of the puzzle has to be done in a specific order. There are a lot of connections to be made underneath the intake, like breather and coolant lines. There’s also the fact that two suction pipes need to remain off until the accumulator is installed so that the EGR valve can be connected (I found out the hard way and had to back up a bit).
Basically, BMW engineers put everything they could in a very small space and created an evil version of the game “Operation”. It doesn’t help that I have hands like a gorilla. I ended up scratching the hell out of the parts I had just painted, but oh well.
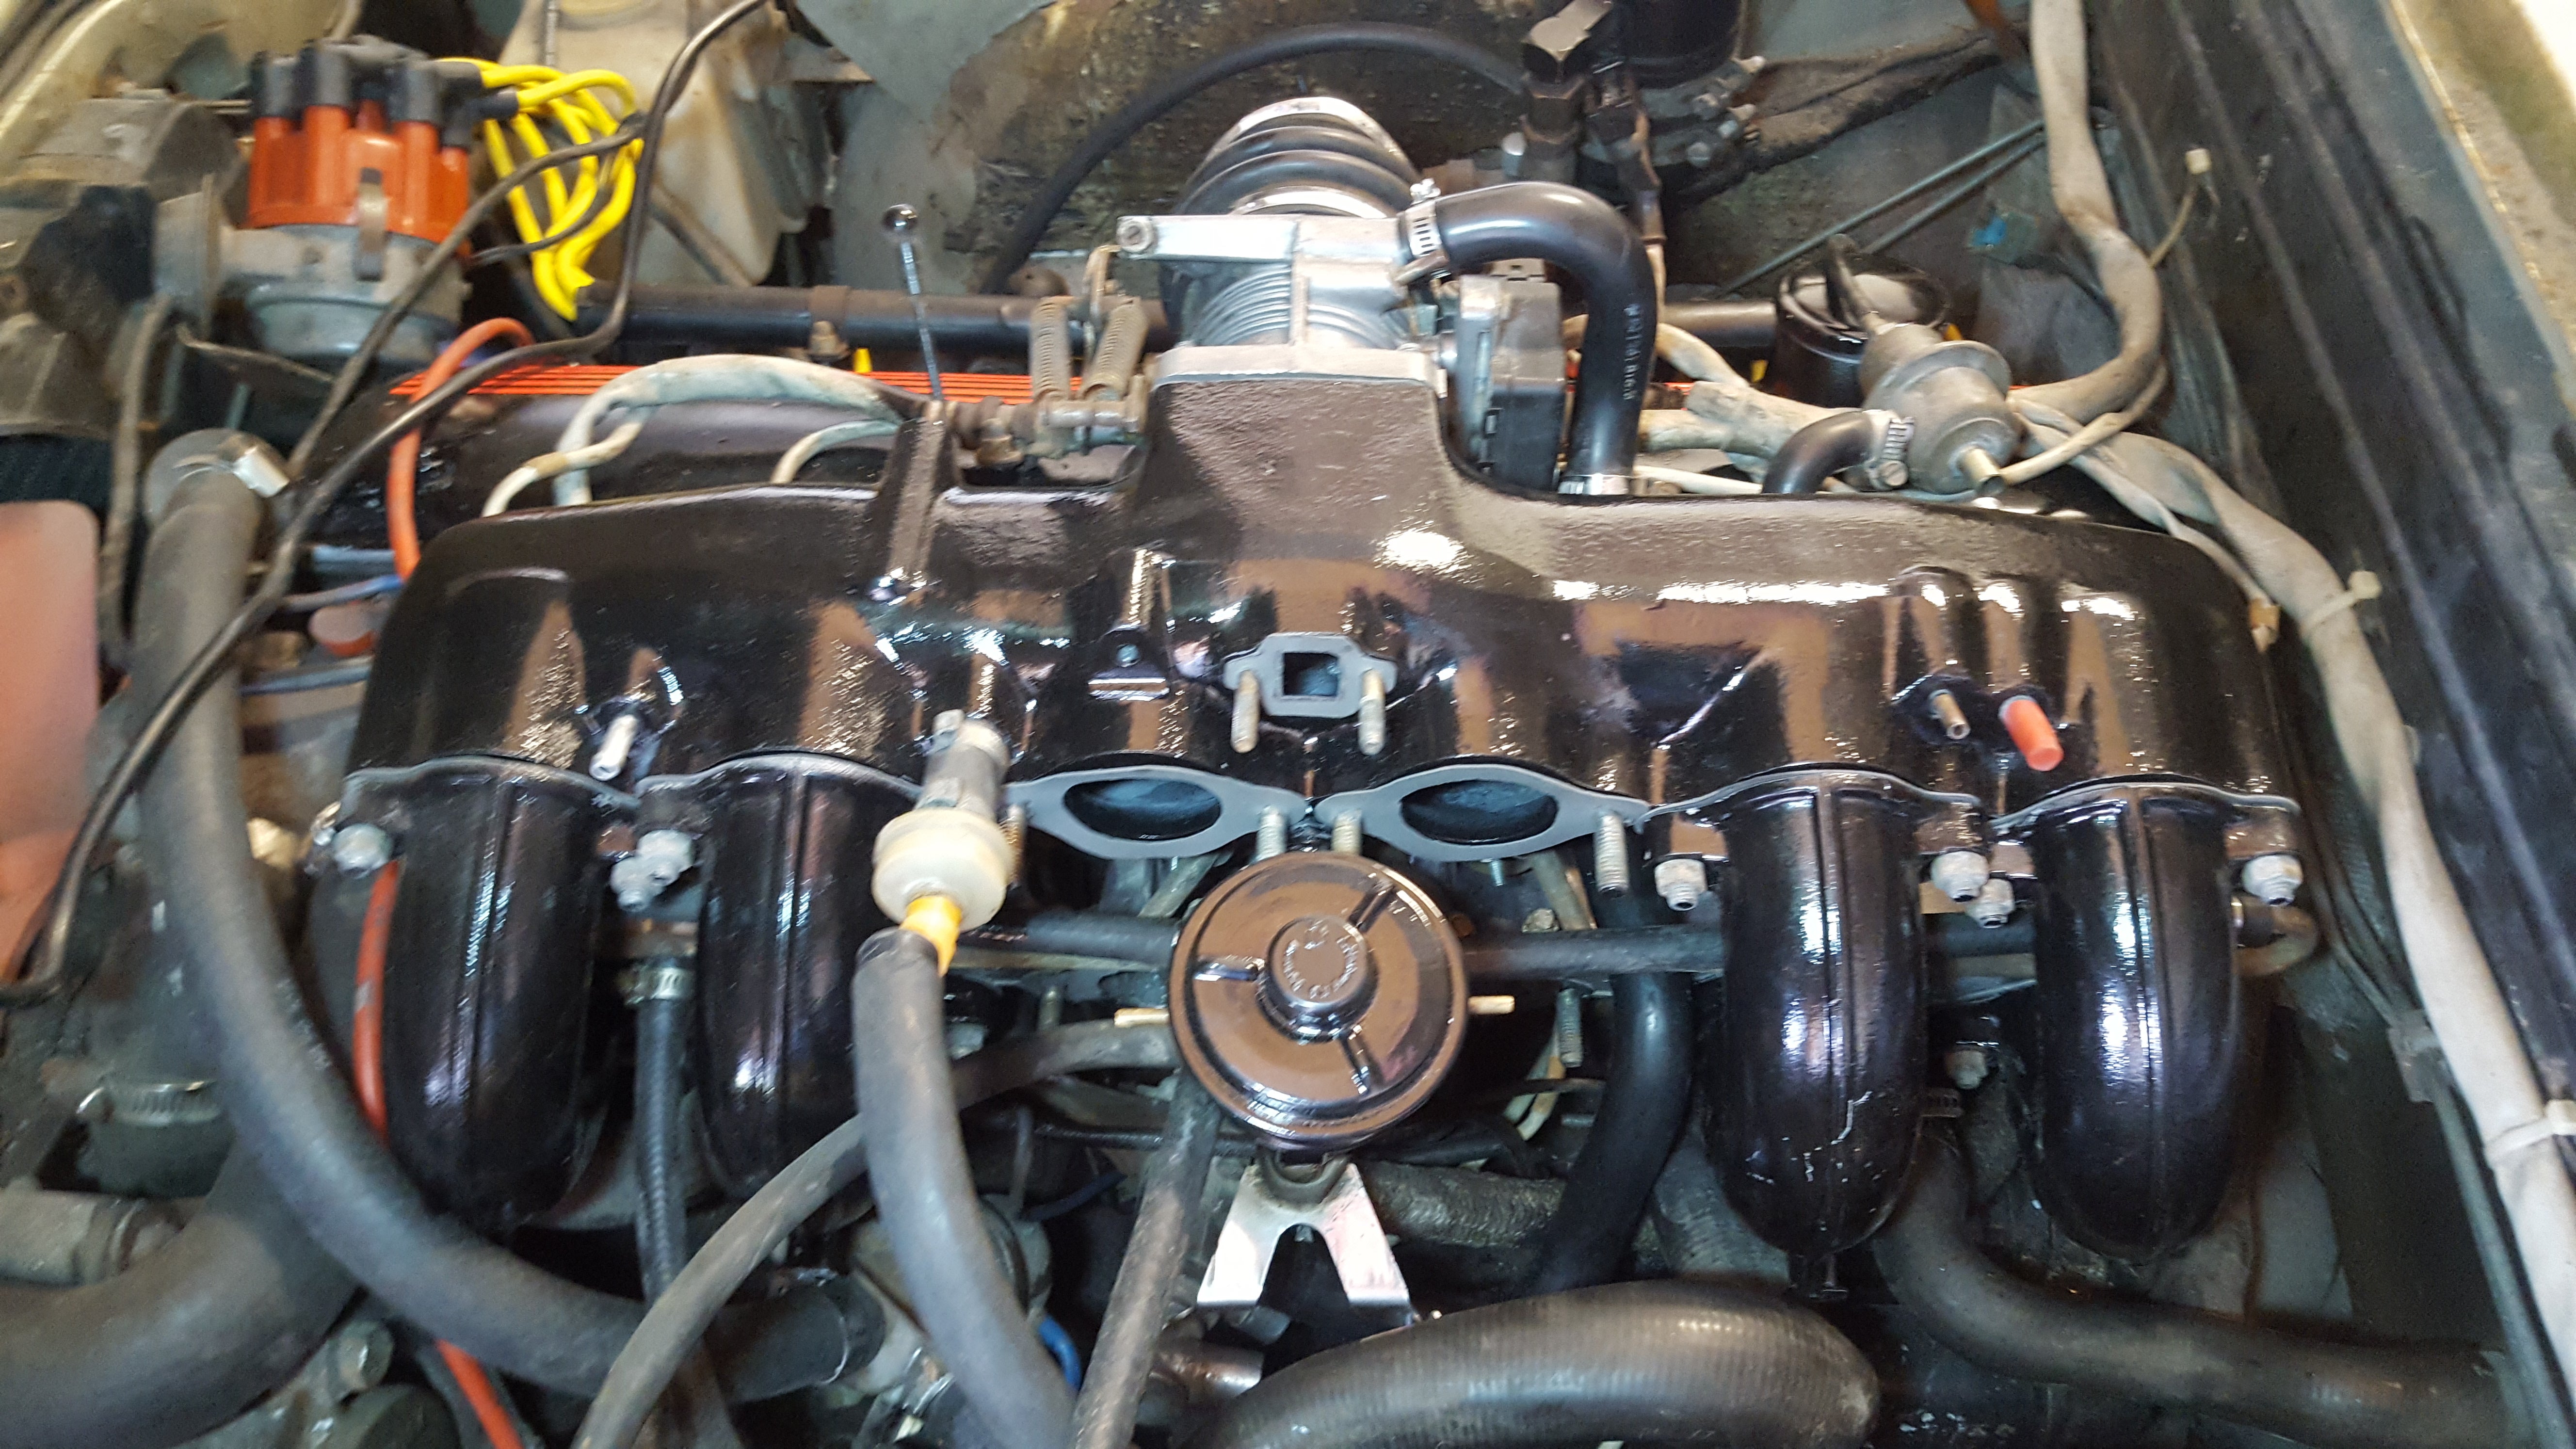
The key was to install the outer suction pipes but leave them loose, install the accumulator, connect the EGR, connect all coolant lines that had to be disconnected to get it together, and then wrestle the last two suction pipes in place and tighten everything down. The new distributor cap and plug wires can be also seen in the background.
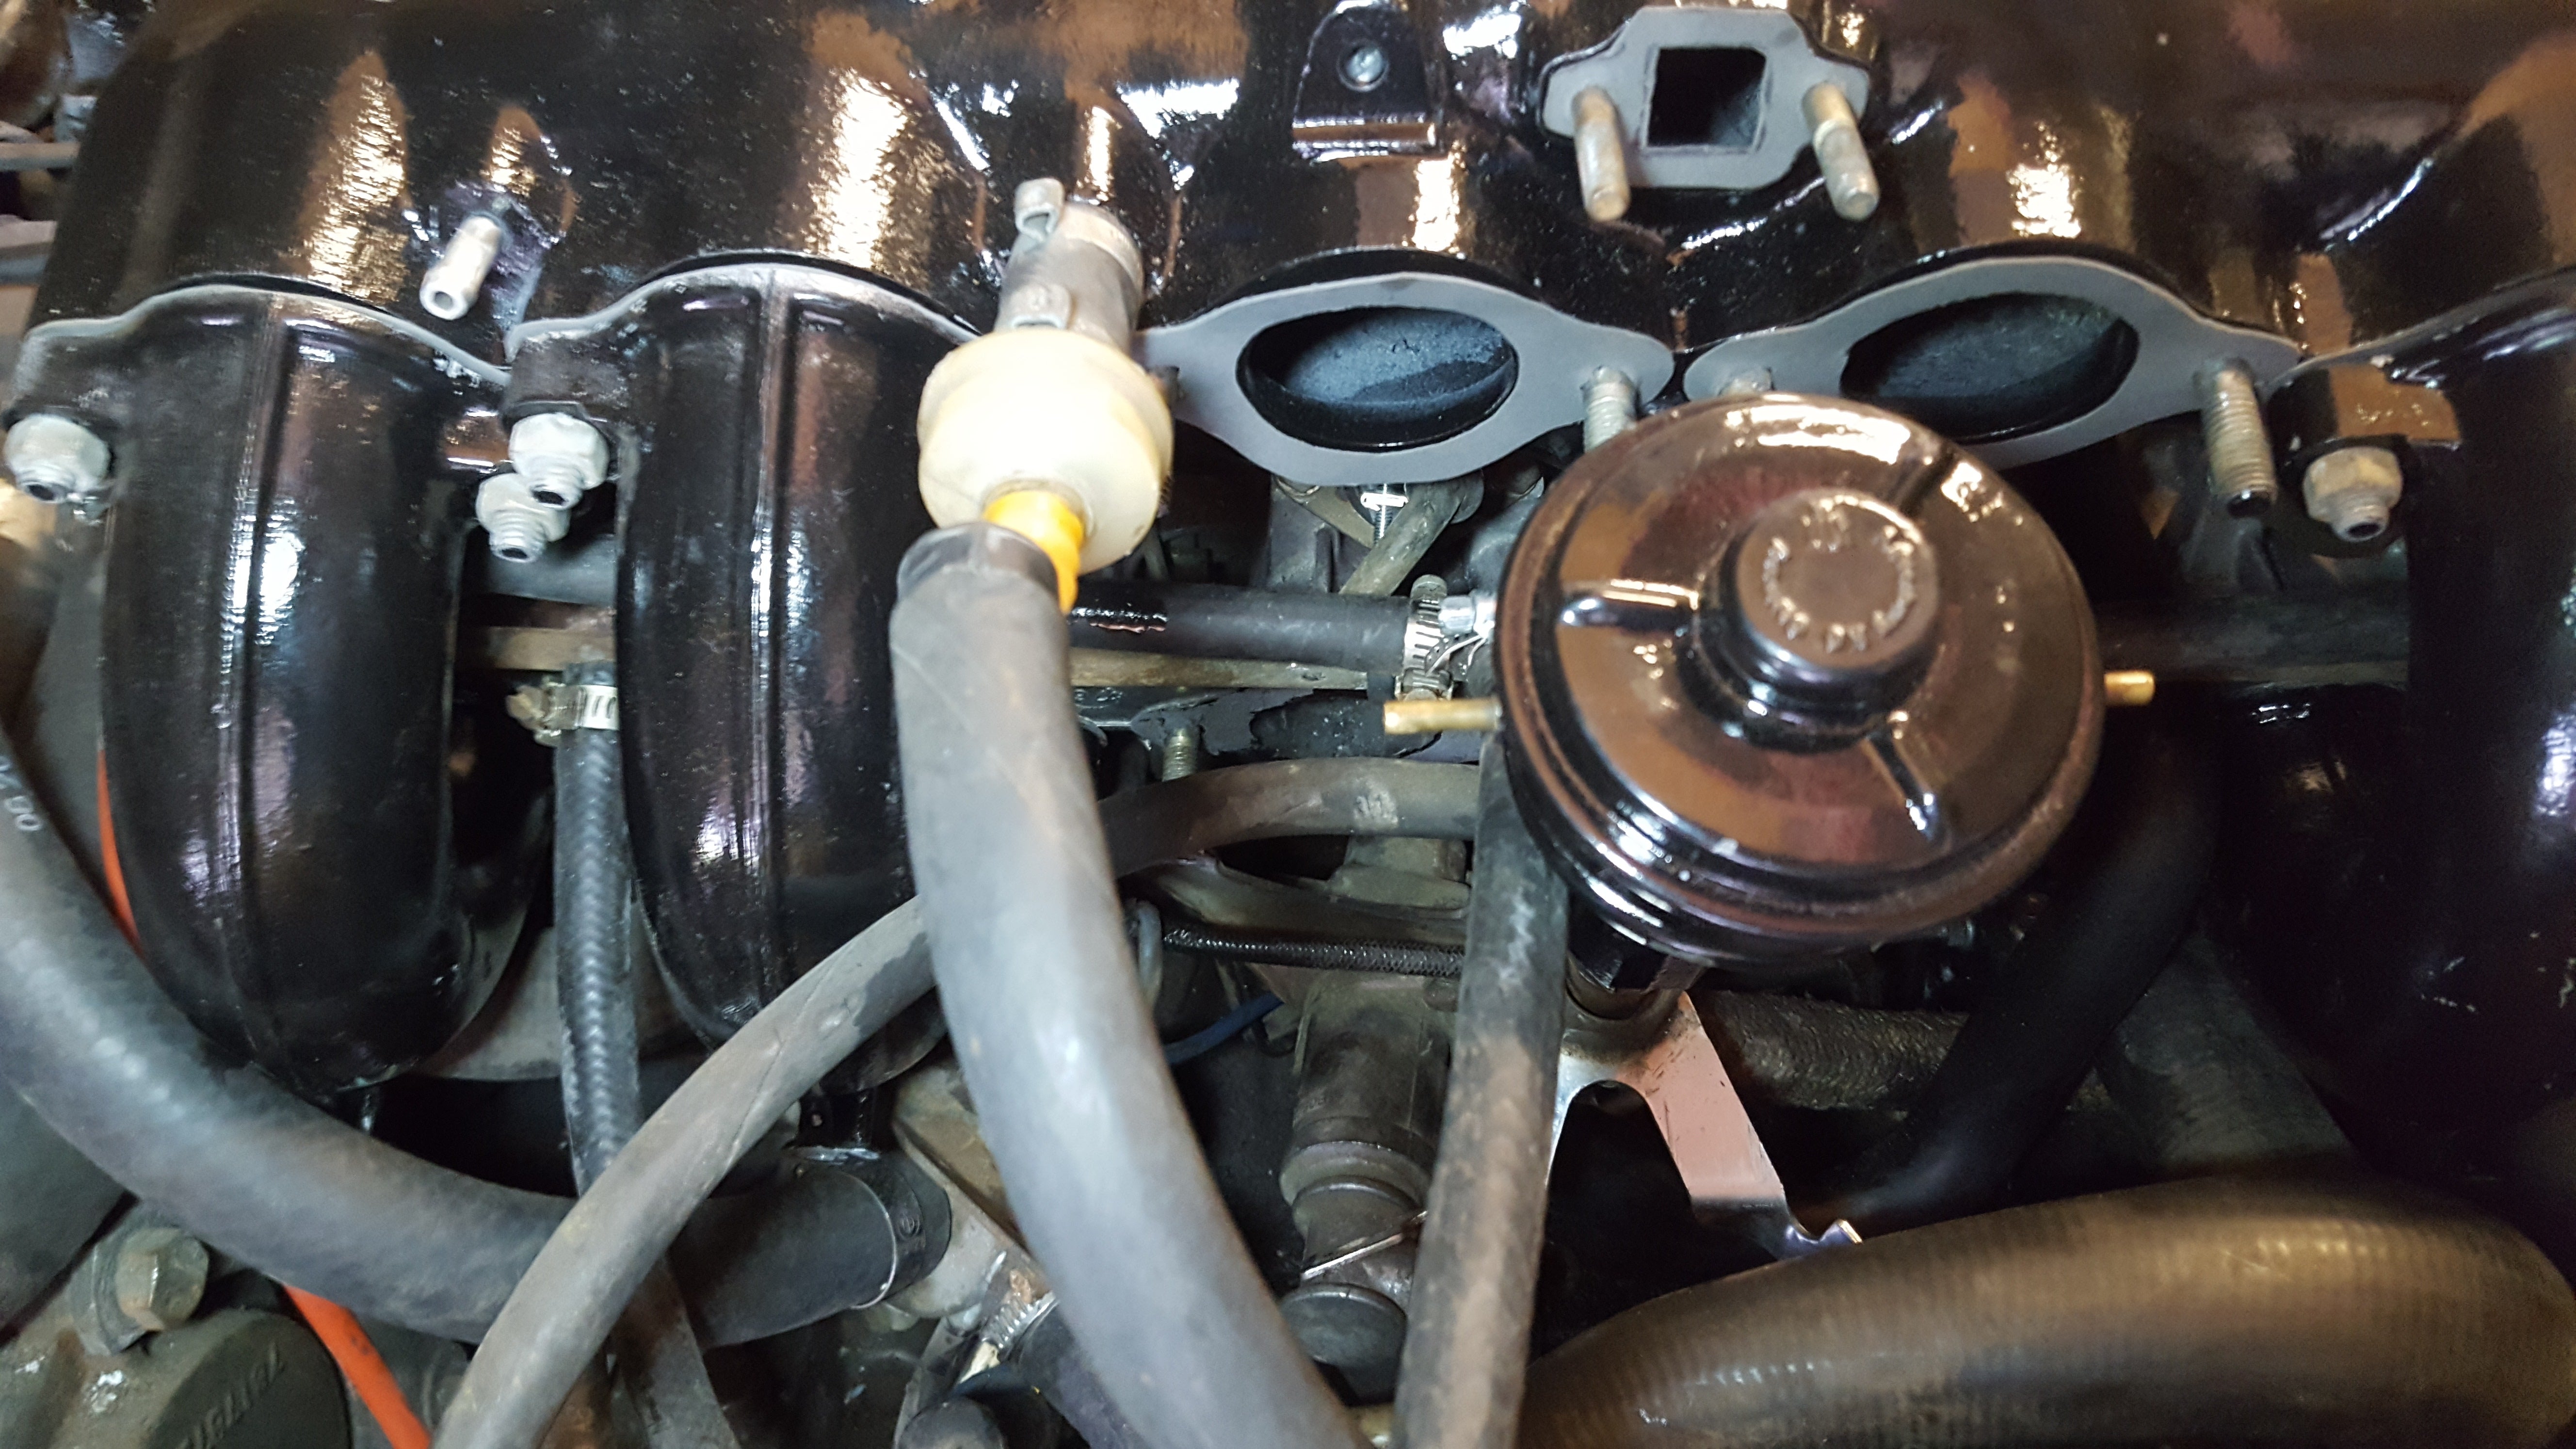
A closer view of the cluster of lines around this area.
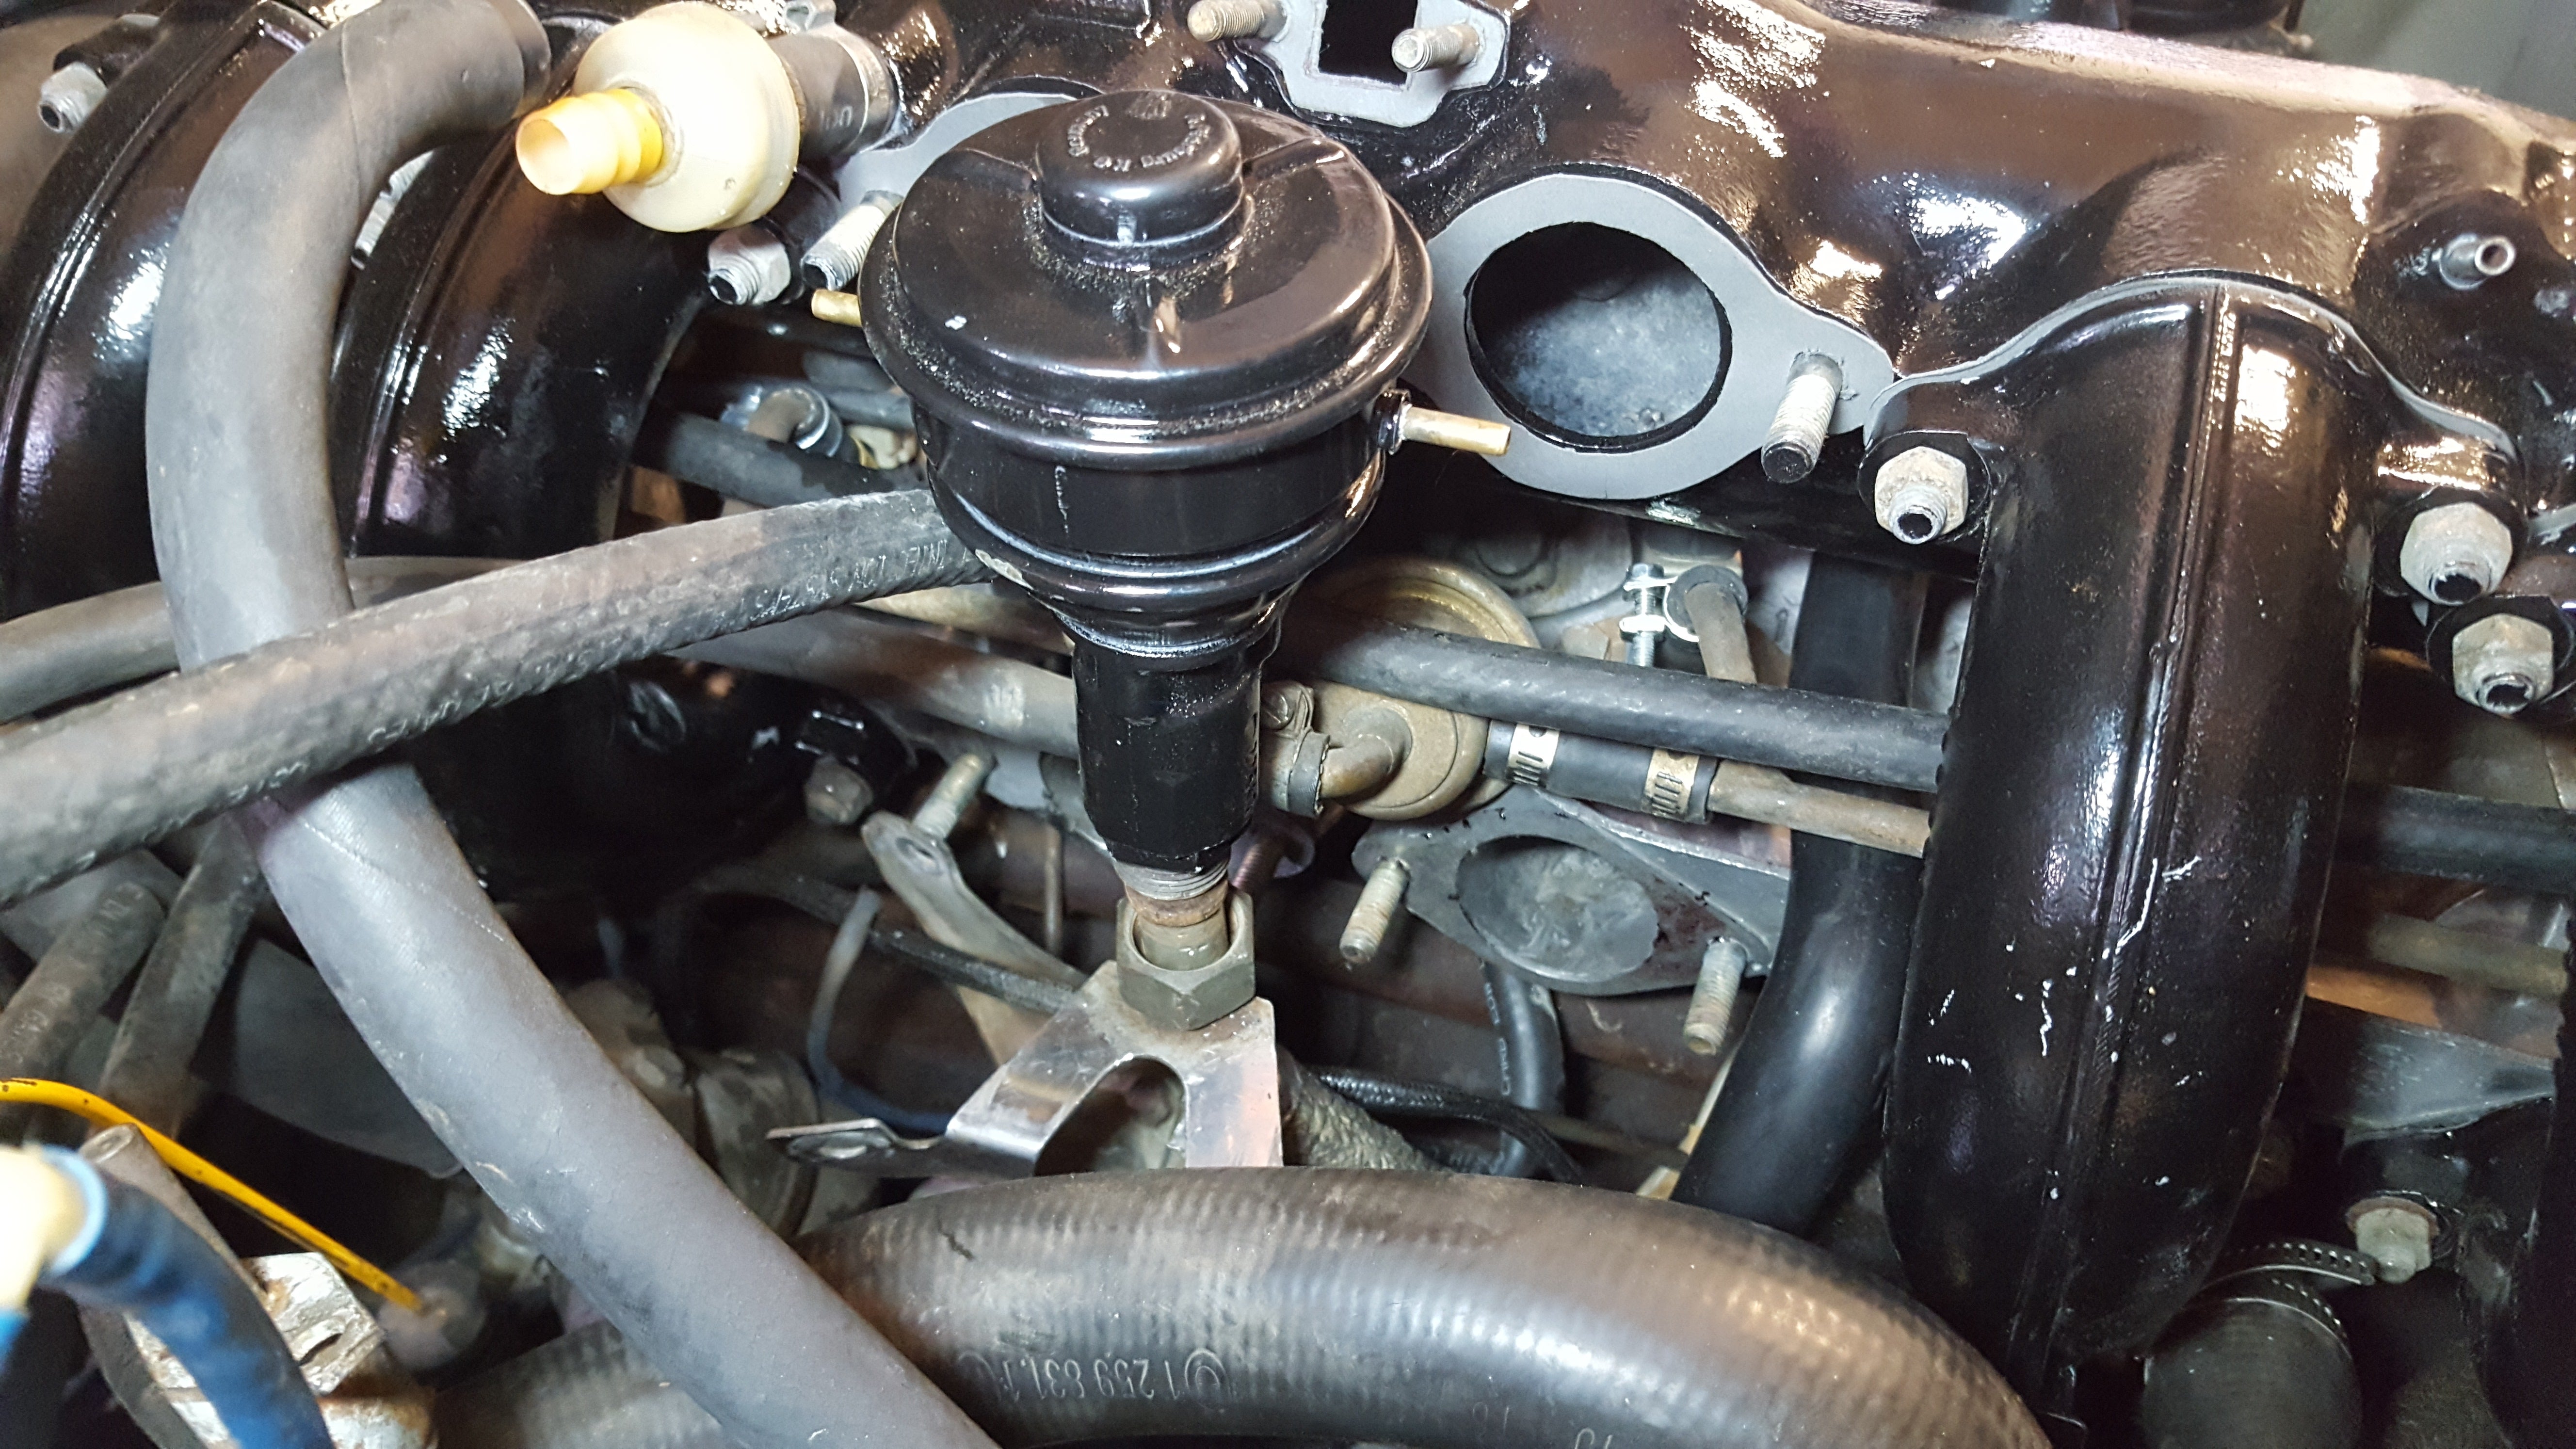
More lines. The EGR valve connection before tightening.
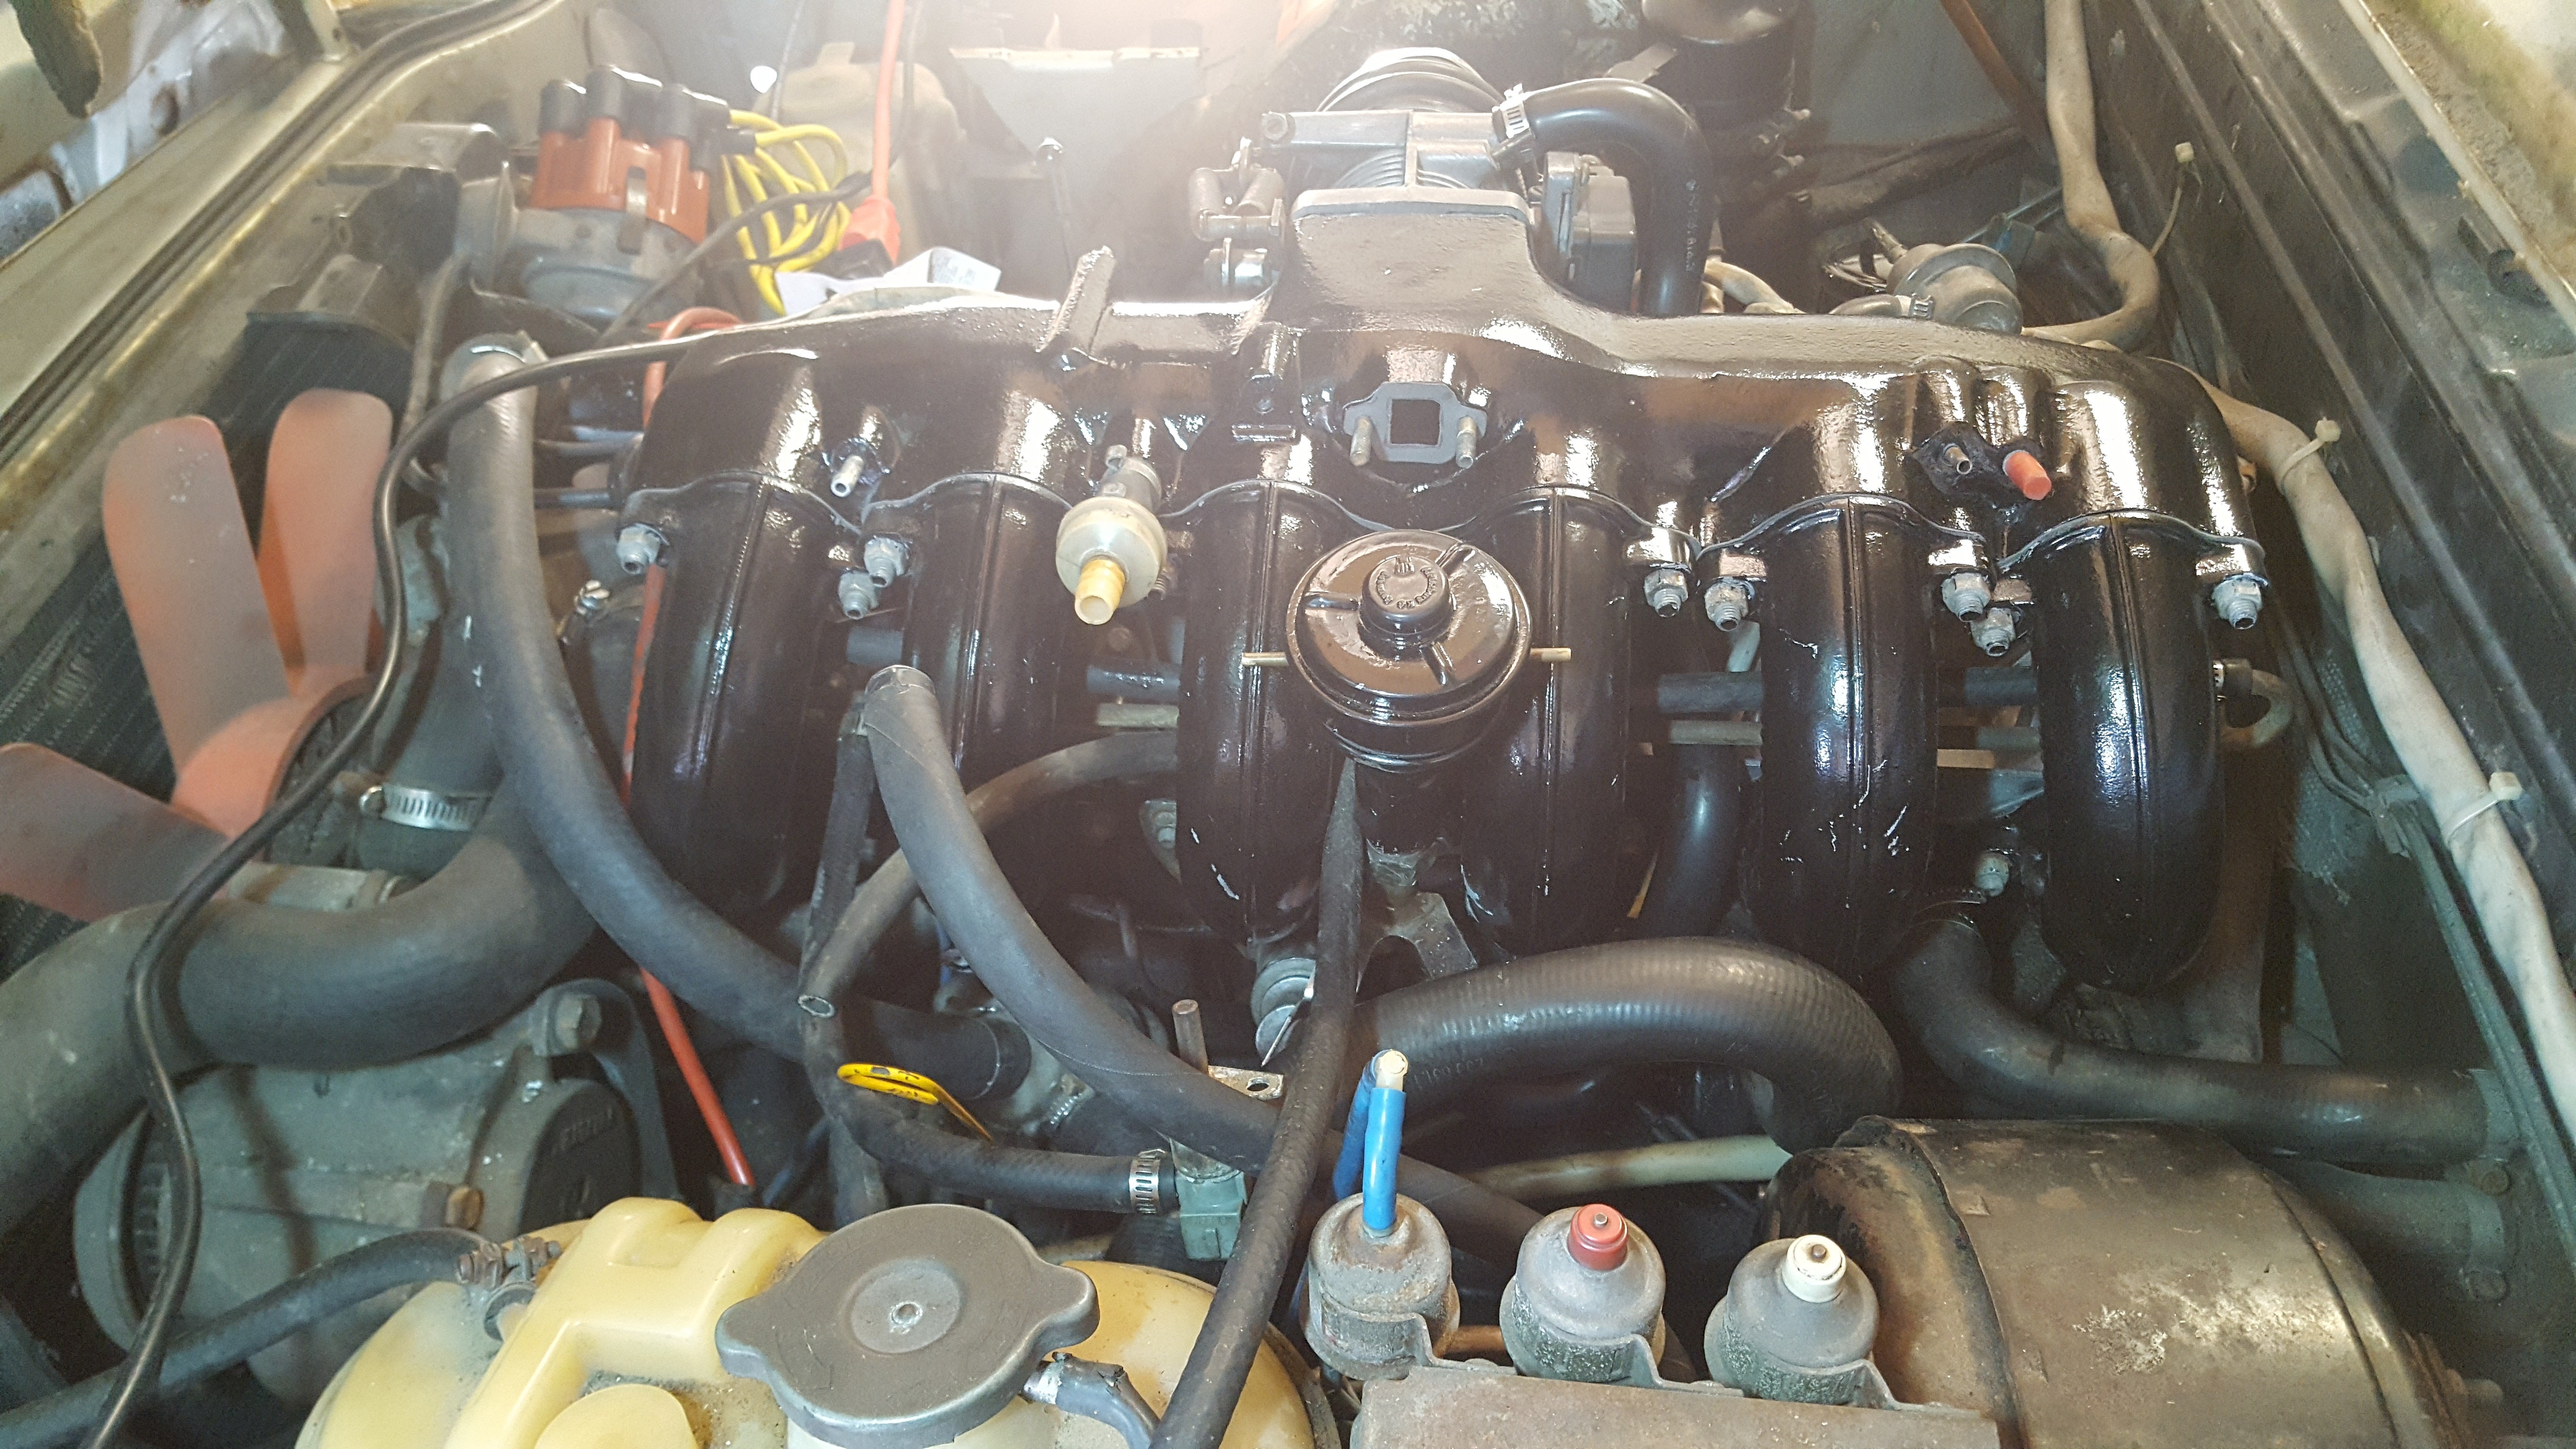
The (sort of) finished product. getting the nuts on the inner suction pipe studs was a bear.
This was one of those times that I wish I was a T-1000 so that I could reach everything easier.
Next on the list is to make about 30 connections for vacuum lines, fuel lines, coolant lines, breather tubes, and mystery emissions bits. It’s not very clear what all of it does, because this stuff doesn’t seem to be on the German versions and diagrams are hard to come by.
HELP WANTED:
One line I’m really not sure on is the fuel line. One is the fuel line, one is the return line. But I’m not sure which is which. I can’t seem to find an answer in the forums. I put a new fuel filter on, so my only thought is to put gas in the tank, turn the pump on, and see which line leaks onto the floor.
There are also some mystery switches on the dash that might not be factory? One is a kill switch. Flip it and the power comes on. The other two push in and click like something from a guitar amp.
All in due time. Hopefully the next post will contain some video of a running engine.
!!! UNKNOWN CONTENT TYPE !!!